Pipe Server
The Pipe Server plugin simplifies the process of testing named pipe communications. It allows developers to quickly create a server-side pipe that client applications can connect to, streamlining setup and reducing the time and effort required for testing and debugging.
Basic Setup
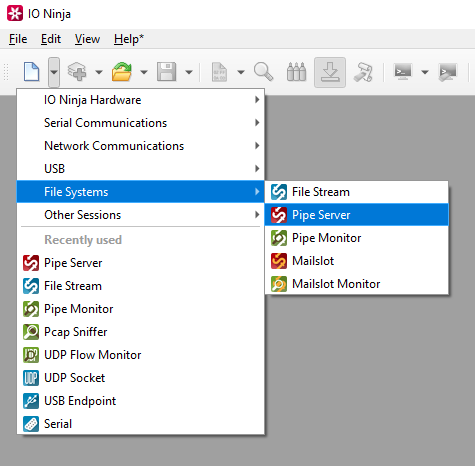
In IO Ninja, click the “New Session” dropdown and select a new “Pipe Server” session
Enter the name of your pipe in the “Pipe:” field.
Note
As a local pipe, it takes the the following form: \\.\pipe\my-pipe-server. If the \\.\pipe\ prefix is omitted, it will be added, so if you type my-pipe-server, it will be \\.\pipe\my-pipe-server.
Please see Microsoft’s documentation on pipe names for more information.
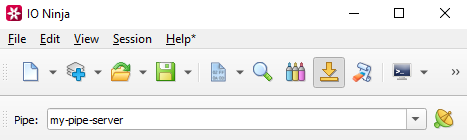
Press the “Start Listening” button, to the right of the “Pipe:” field.

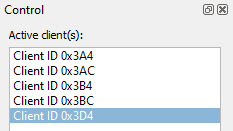
See connected clients in the “Active client(s)” section of the Control pane.
Note
Unlike TCP or UDP, connections over NPFS (Named Pipe File System) do not provide any identifying information about the client that connects to a pipe. To address this, we rely on opaque identifiers that are guaranteed to be unique for each client connection at any given time. Technically, these identifiers are operating system file handles associated with the server-side of the named pipe—specifically, the HANDLE values returned by CreateNamedPipe.
This Active client(s) list is not only for checking who is connected. When we select an item here, we select who are we talking to when we use the Transmit pane.
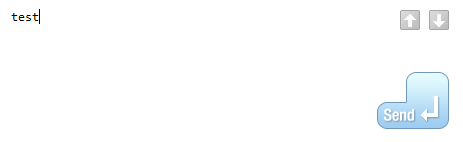
In the Transmit pane, send messages as required.
Analyze messages received from clients in the log.

In the Control pane, use “Client log filter:” to select which client you want to see messages from.
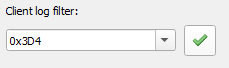
Note
If you type a client ID (e.g., the hex number you see in the log, or in the list of connected clients), it will leave only the conversation with this client — and hide every other conversation.
Settings

Setting |
Description |
Default |
|---|---|---|
Pipe name |
Specify the pipe name to listen on. |
|
Message mode |
Enable or disable “message mode”. In “message mode”, the data written to the pipe is treated as distinct messages, preserving boundaries between write operations. Message mode |
False |
Read parallelism |
Maximum number of read requests to submit to |
4 |
Read block size (B) |
The size of each individual read block submitted to |
4KB |
RX buffer size (B) |
The full size of the incoming data ( |
16KB |
TX buffer size (B) |
The full size of the outbound data ( |
16KB |
Keep read block size |
Don’t merge read blocks in RX buffer. Incoming data blocks coming in quick succession can be merged together so that IO Ninja writes them to log as a whole. When this option is set to |
False |
Keep write block size |
Don’t merge write blocks in |
False |
RX buffer full notifications |
Toggle warnings in log about the incoming data ( |
False |