Setting Up A Workgroup
Imagine a project manager who needs to set everything up for a team of engineers working with IO Ninja. This document is a step-by-step tutorial of how you might approach this task.
1. Create a workgroup account
First, we will need a workgroup account to share IO Ninja resources among team members. If you don’t already have an IO Ninja account, you’ll have to create one. Otherwise, you can convert an existing personal account into a workgroup account.
1a. Create a new account
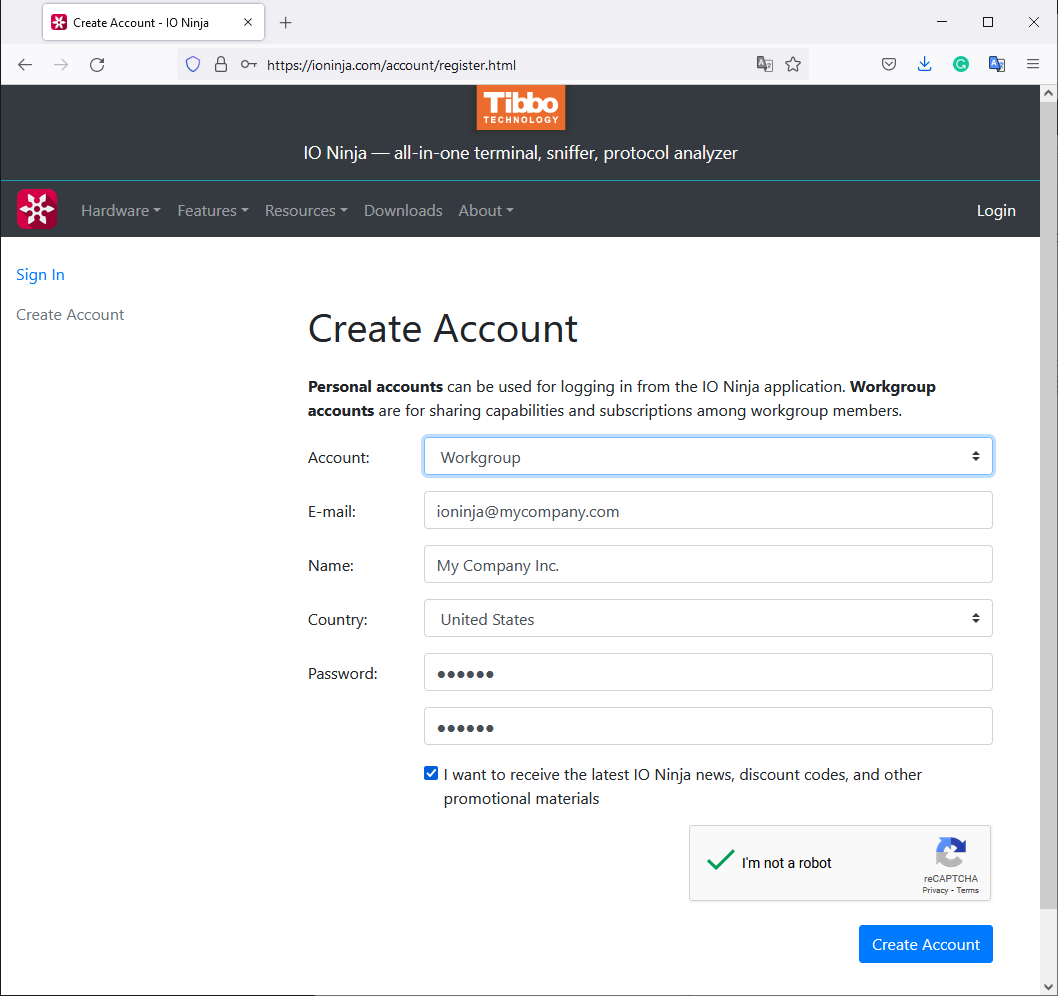
Please navigate to the Create Account page and create a new workgroup account:
1b. Convert a personal account to a workgroup
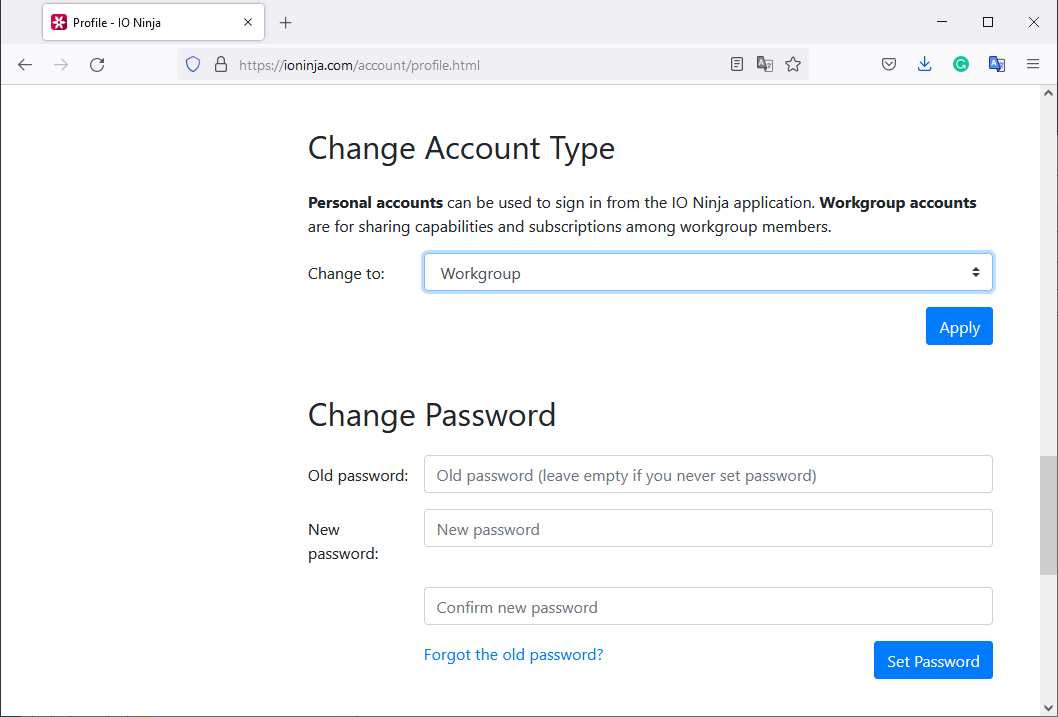
Alternatively, you can select an existing personal account and convert it into a workgroup account. Log into the account and navigate to the Profile page. There, scroll down to the Change Account Type section. Now, select Workgroup and click Apply.
2. Set up workgroup membership policy
Once you have a workgroup account, you need to decide how exactly members will join your workgroup.
2a. Auto-approve memberships
The most convenient method is to auto-approve membership based on the email domain.
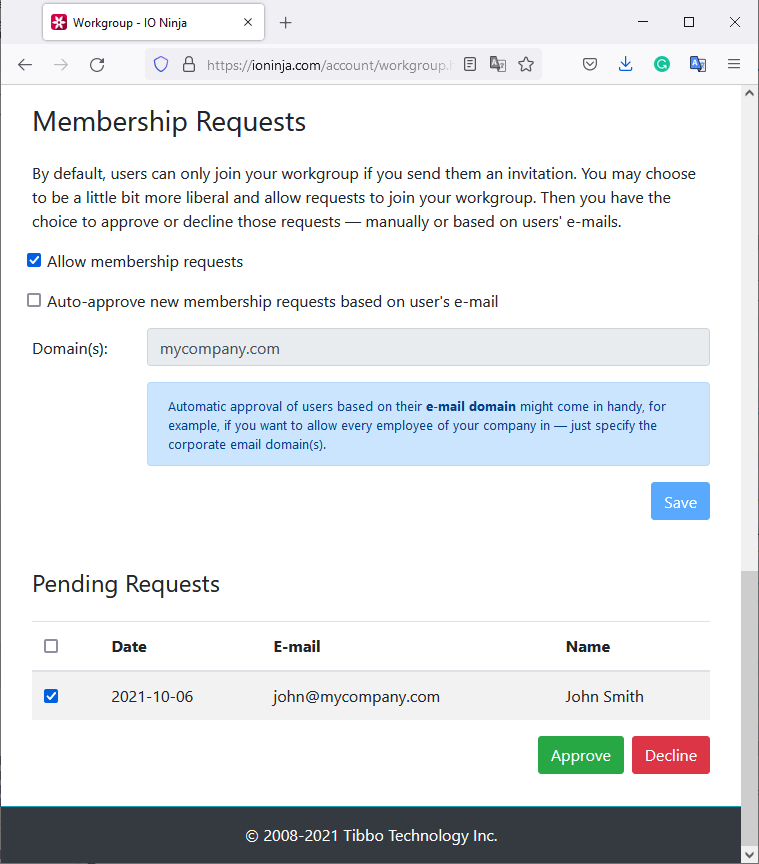
On the Workgroup page of your account, scroll down to the Membership Requests section. Here, check both Allow membership requests and Auto-approve new memberships based on email, then specify the email domain(s) from which to add members automatically:
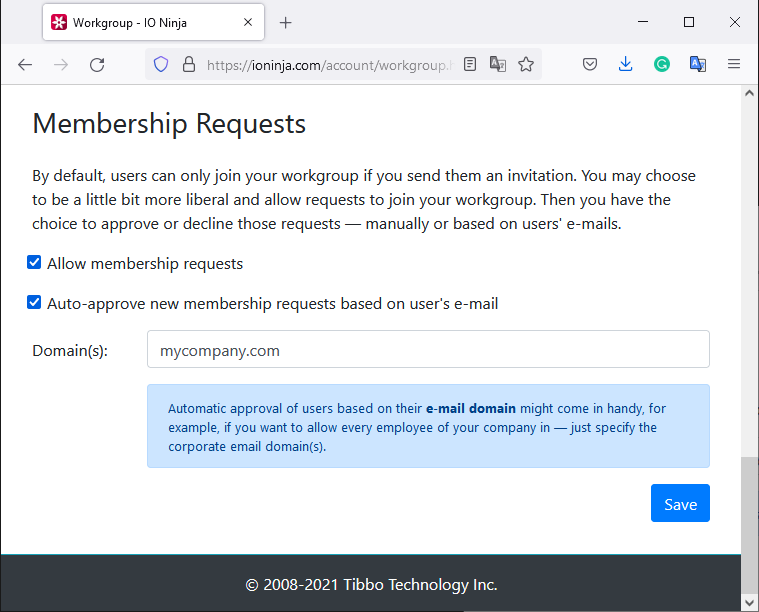
In the example shown above, people with accounts like john@mycompany.com, mary@mycompany.com, webmaster@mycompany.com, and so on would all be auto-approved for your workgroup.
2b. Manually approve membership requests
If you need to be a little more strict, you can choose not to enable the auto-approve. In this case, you will need to manually approve new members in the Pending Requests section as shown below:
2c. Invite-only
Finally, you can choose not to accept membership requests at all and only allow memberships by invitation. To send an invitation, scroll up to the Invite Members section, type the new member’s email, and hit Invite. Please note that this user must already have a personal IO Ninja account.
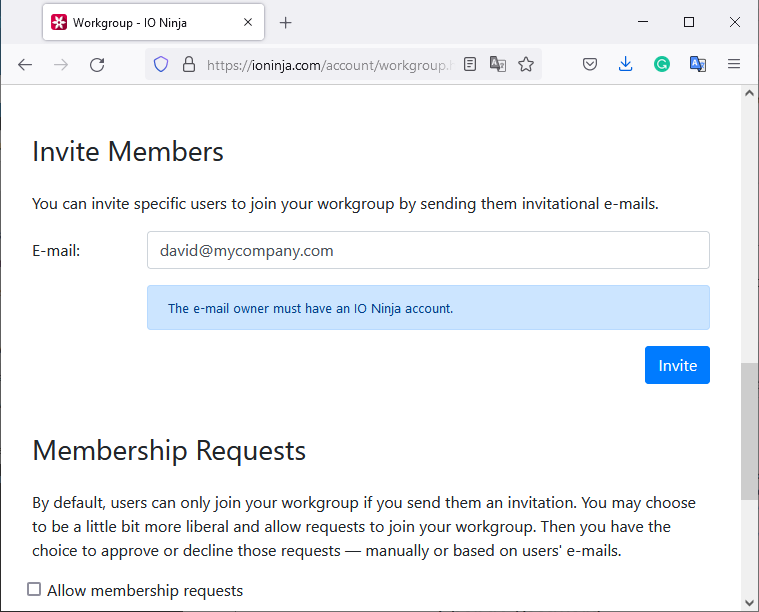
The person must accept the invitation from their account to become a workgroup member.
3. Manage workgroup resources
Workgroup accounts provide resources to their members. Below, we explore the various options available to administrators.
3a. Subscriptions
The easiest way to share resources is via subscriptions. Subscriptions enable all IO Ninja capabilities for the subscription period. You can add a subscription to your account from the Subscription page:
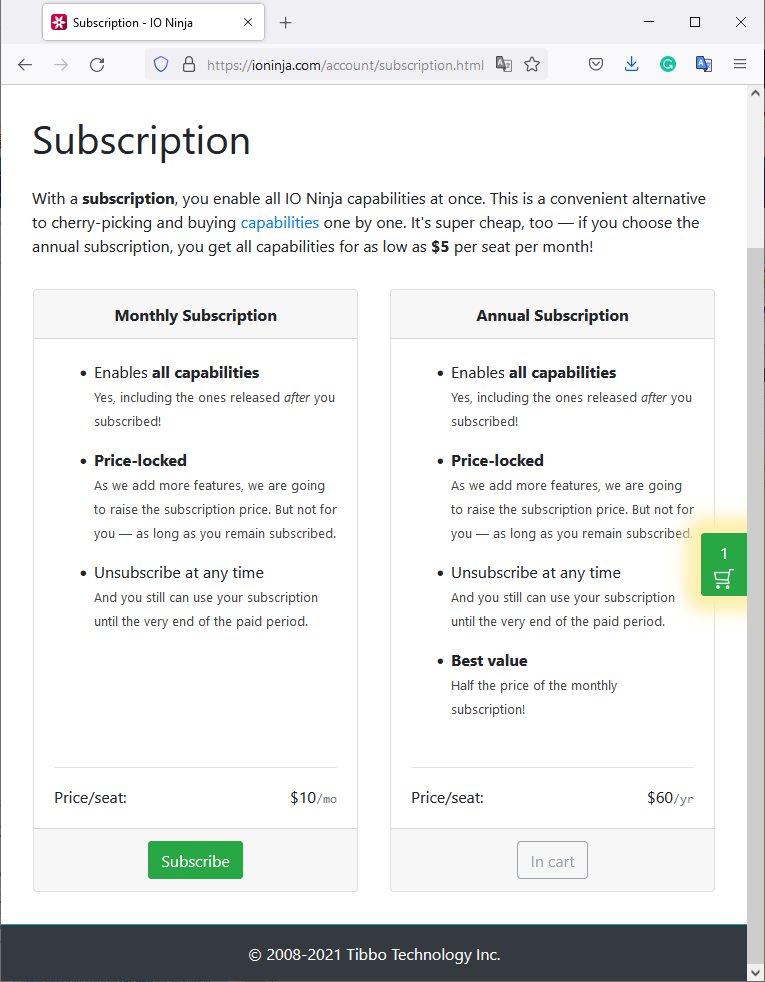
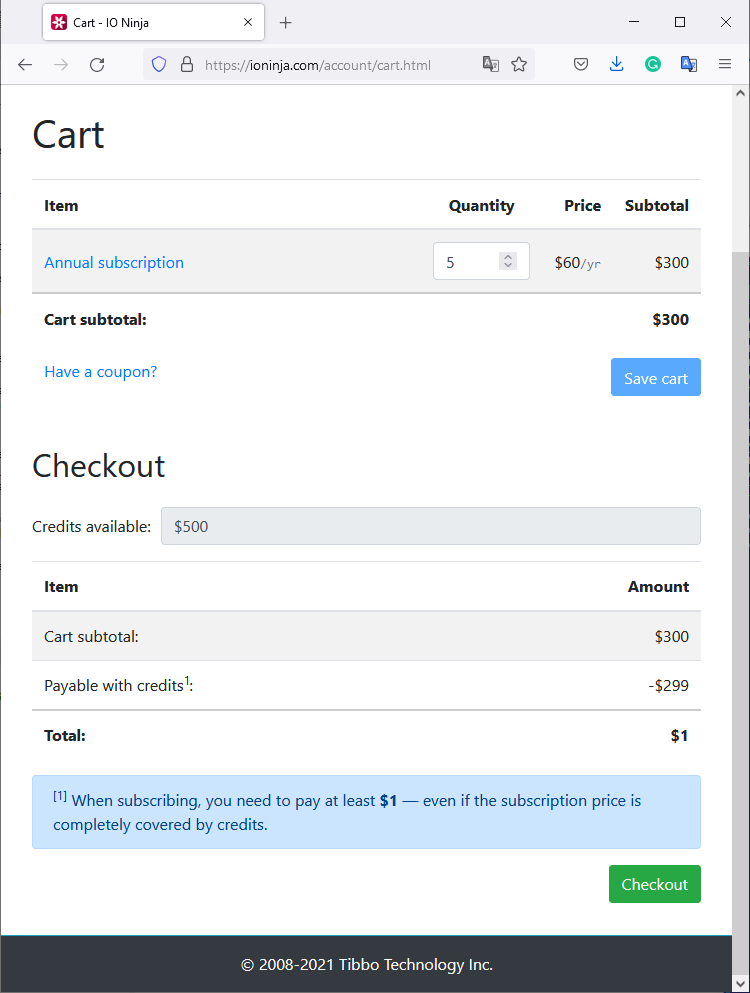
After adding a subscription to the cart, adjust the desired number of seats for your workgroup:
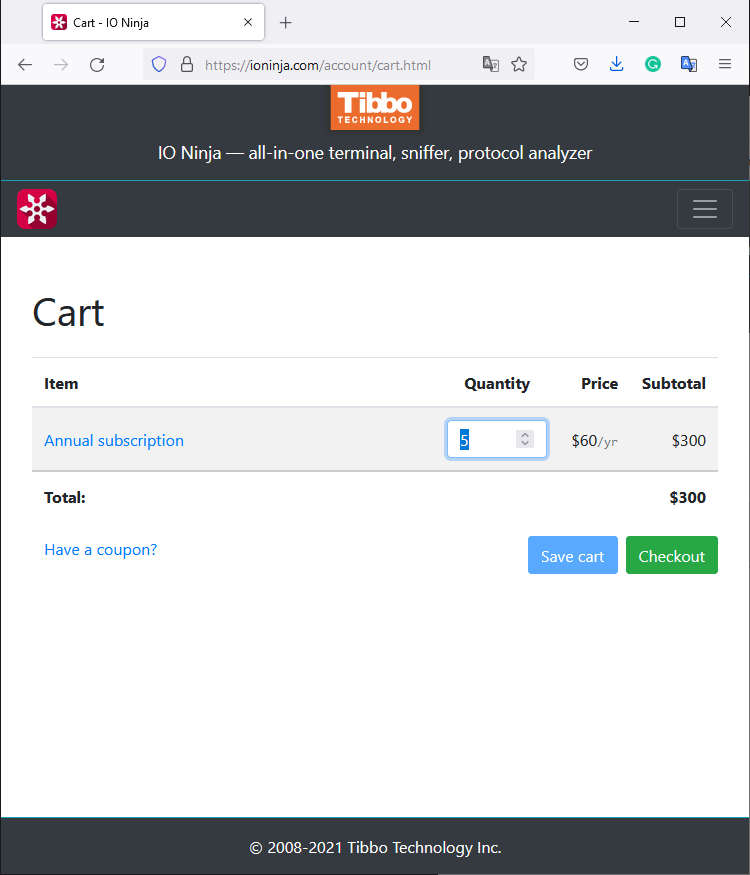
If you own a workgroup license for IO Ninja v3.x.x, an initial USD 500 has been credited to your account. You can use these credits to pay for subscriptions. For example, if there are five members in your workgroup, these credits would cover a 20-month subscription for each seat (at the introductory subscription price of USD 5 per month).
3b. Capabilities
An alternative to subscriptions is to purchase individual capabilities. The upside here is that capability purchases are perpetual and do not expire — what’s yours is yours. On the other hand, this approach is much harder to manage and requires more planning. At the very least, you will need to discuss with your users about which capabilities and how many seats of each one are required.
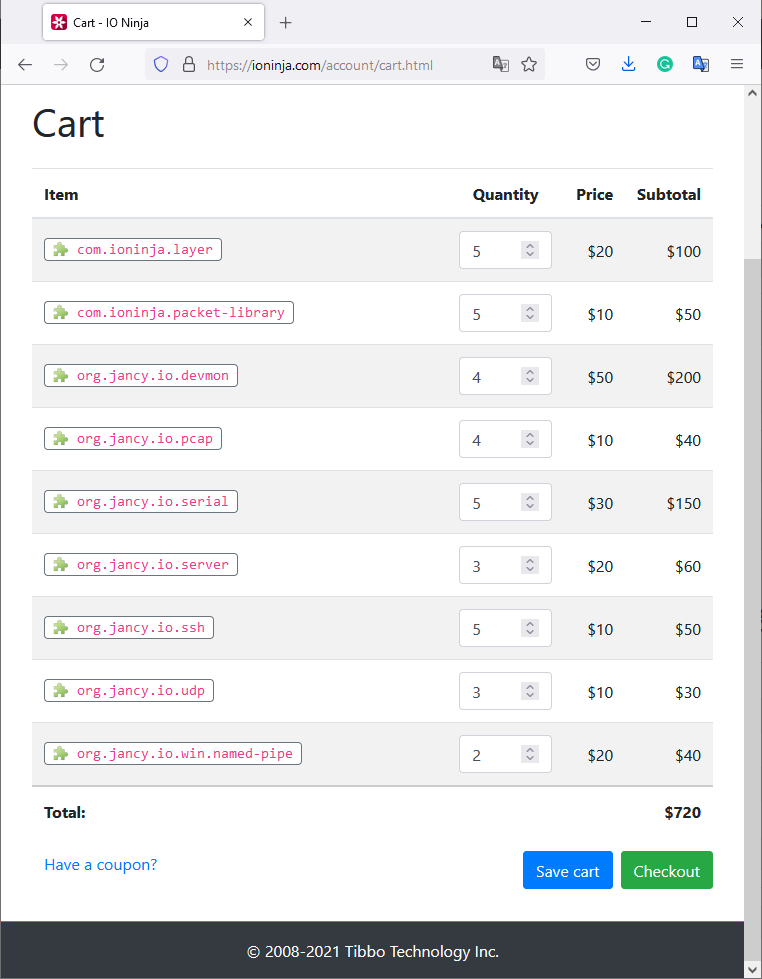
From the Capabilities page, you can add seats for each capability as needed. In the end, your cart for a workgroup of five members might look something like this:
3c. Direct credit transfer
As mentioned above, owners of a workgroup license for IO Ninja v3.x.x receive USD 500 in credits for subscriptions or capabilities. If your workgroup account has credits, there’s yet another management option — simply transfer credits to individual members and let them decide how to spend them.
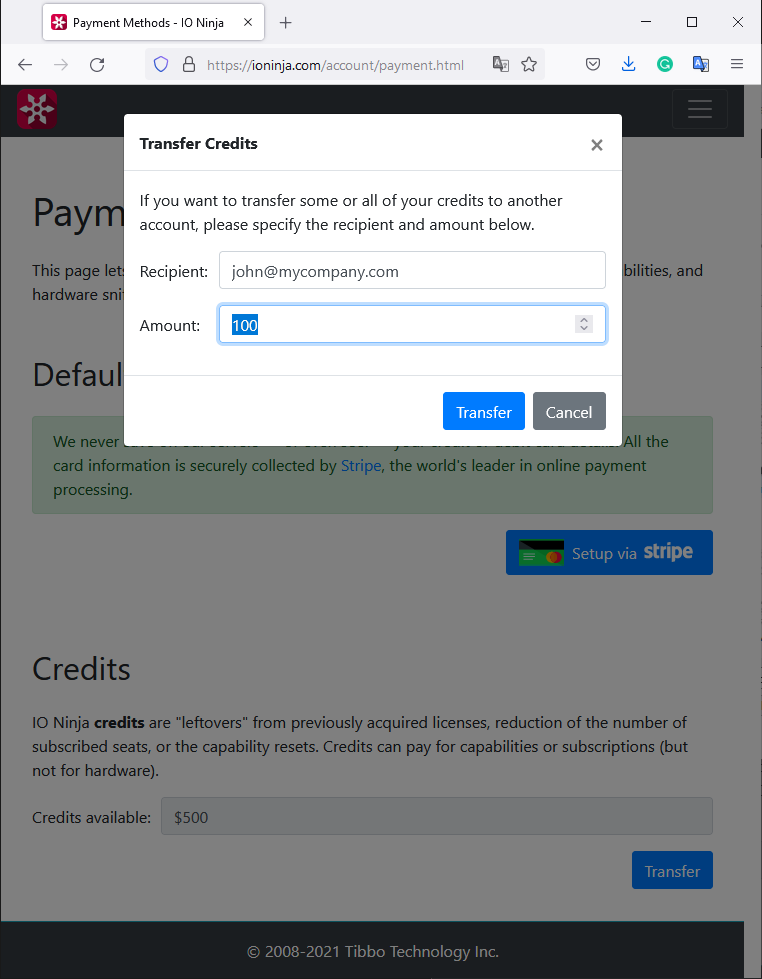
Credit information is available on the Payment Methods page. If your workgroup has five members and you have USD 500 in credits, you could transfer USD 100 to each member, for example, as shown below:
The downside of this approach is that credit transfers are permanent. If a workgroup member leaves the team, their account keeps all the capabilities or subscriptions purchased with the credits.
4. Joining your workgroup
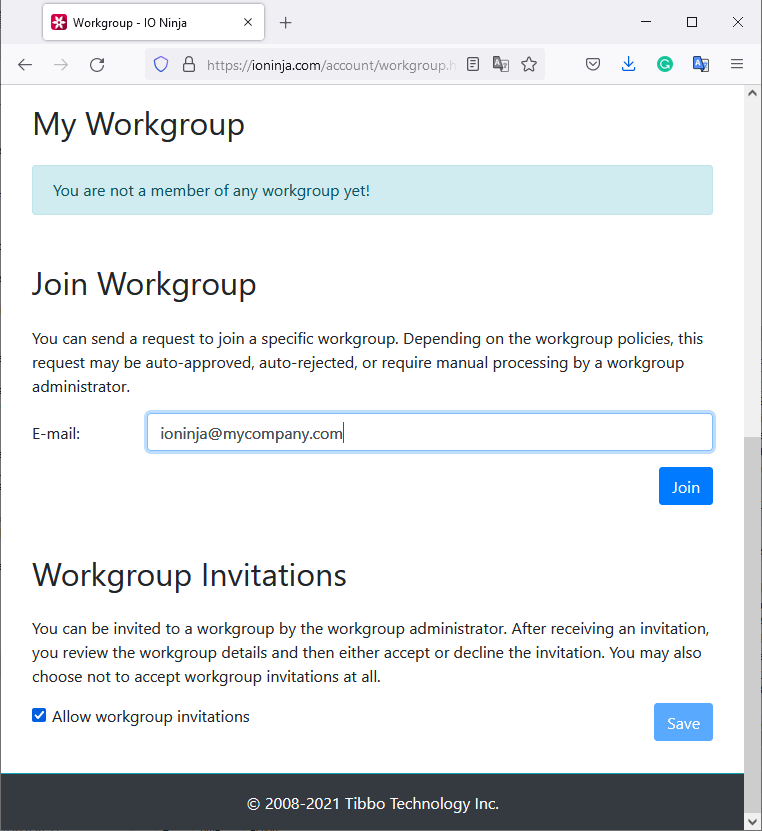
Users who wish to join your workgroup can request an invitation from the Workgroup section of their personal account profile. There, they can specify the email of your workgroup account and click Join to send a request:
If you have enabled auto-approving of memberships and the user’s request satisfies the policy you configured earlier, they will automatically join your workgroup. If your workgroup account requires manually approving membership requests, you will have to do so before they can join.
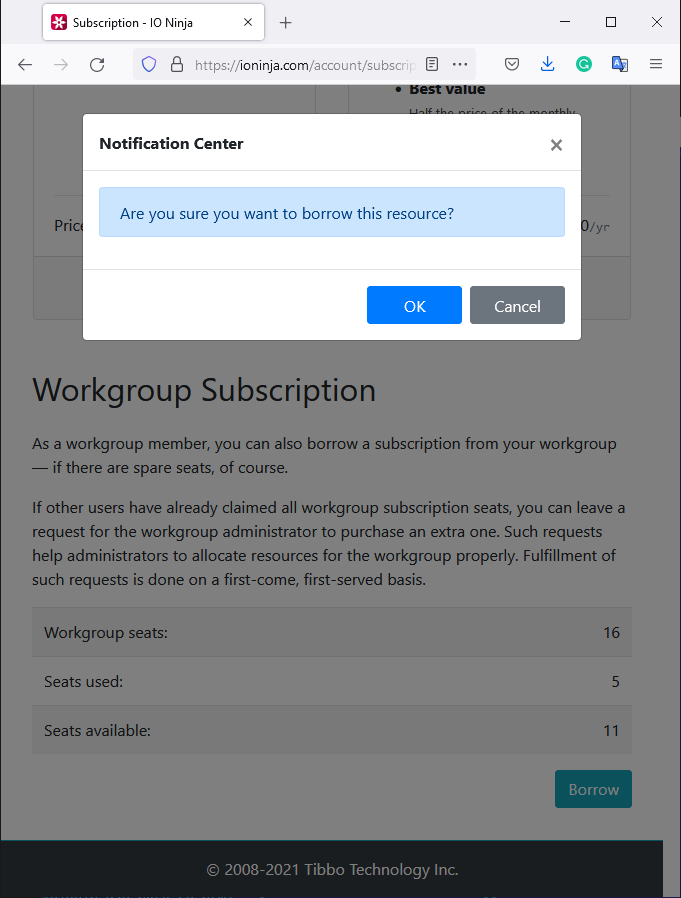
5. Borrowing resources
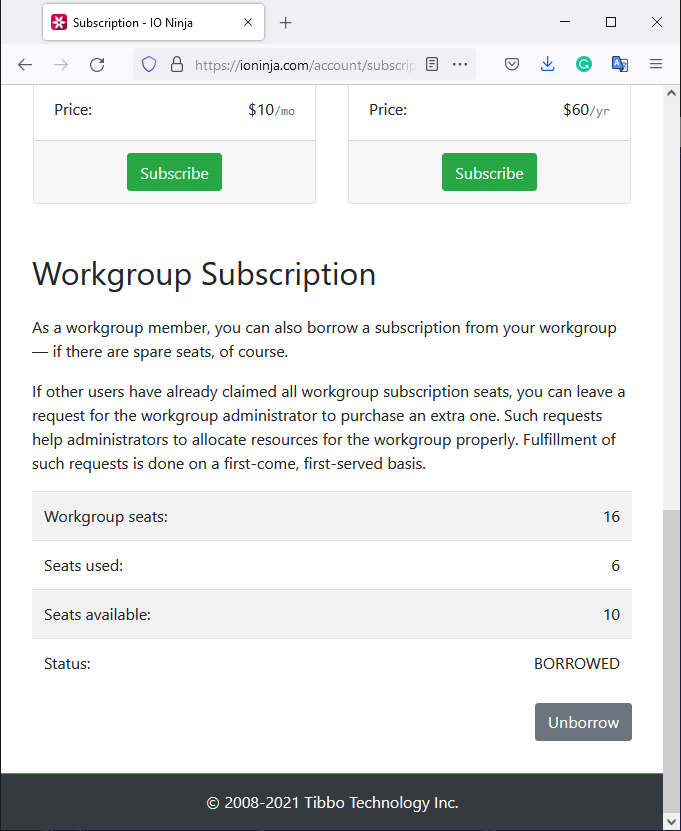
Members of your workgroup can borrow subscriptions or capabilities. Instead of adding items to the shopping cart and then paying for it with money or IO Ninja credits, members can borrow available resources from the workgroup. For example, to borrow a subscription, a member navigates to the Subscription page and clicks Borrow:
After a successful borrow, a member can use the resource in the same way as if they purchased it. For example, a borrowed subscription enables all capabilities for the member’s account.
If a member no longer needs a borrowed resource, they can return it to the workgroup (a.k.a., Unborrow) for others to use: