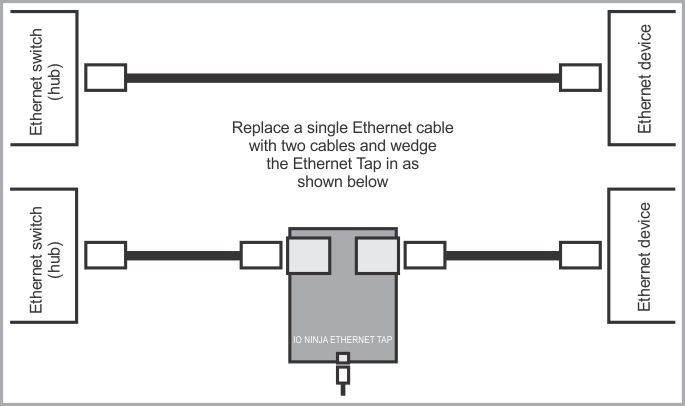
Connecting Ethernet Tap

Setting up IO Ninja
•Install and run IO Ninja (http://ioninja.com/).
•Plug the Ethernet Tap into the USB port of your PC—the blue Power LED shall turn on. If the Tap is loaded with a valid configuration file, the green Ready LED will also turn on.
•Launch the Ethernet Tap plugin (we have a screenshot here).
•Click on the Tap drop-down and select the target Ethernet Tap (you can connect several Ethernet Taps to one PC, so selecting the right one may be necessary). You can refresh the list of available Ethernet Taps by clicking the Refresh button to the right of the Tap drop-down.
•Click the Capture button to start the data acquisition. At this moment, IO Ninja will check the Tap's internal firmware. If the Tap firmware is outdated, IO Ninja will upload the new firmware into the Tap. This will only take a couple of seconds.
Filtering captured data
Most networks experience constant and varied traffic, while your attention is usually focused on something particular. Filtering allows you to only display the packets that satisfy the defined criteria. The filter is set by entering a filter string into a Filter textbox and pressing the Apply button to the right of the field. When setting a filter, follow the "pcap filter" format, and if you don't know what that is, Google "pcap-filter."
Clicking the Apply button verifies the filter string correctness and enables that filter if no problems are found. If the filter string is invalid, the Filter textbox will turn red.
Note that the Ethernet Tap captures all data flowing through it, and the filtering is performed on the already recorded data. Changing the filter affects what packets are displayed on the screen and is retroactive, meaning that setting a new filter causes IO Ninja to re-output the entire log with the new filter setting applied.